Design • 27 mars, 2020 • 7 min de lecture
Gallery Wall 101
We love seeing the many different ways our Mapifuls can be styled. We thought we’d return the love, and share our best tips for creating and curating your very own gallery wall.
Par Edvin BrobeckHow to Build a Basic Gallery Wall
Gallery walls are one of our favourite interior styling hacks. Every wall is a blank canvas waiting to be decorated, and we love seeing the many different and creative ways our Mapifuls can be styled.
We thought we’d return the love with this Gallery Wall 101 guide, and share our best tips for creating and curating a gallery wall of your very own.
Scope out your space
One of the beautiful things about the gallery wall is that it can be incorporated into almost any room or space, big or small!
Pick a placement that wows, and take a quick measurement of how much space you have before you start designing.
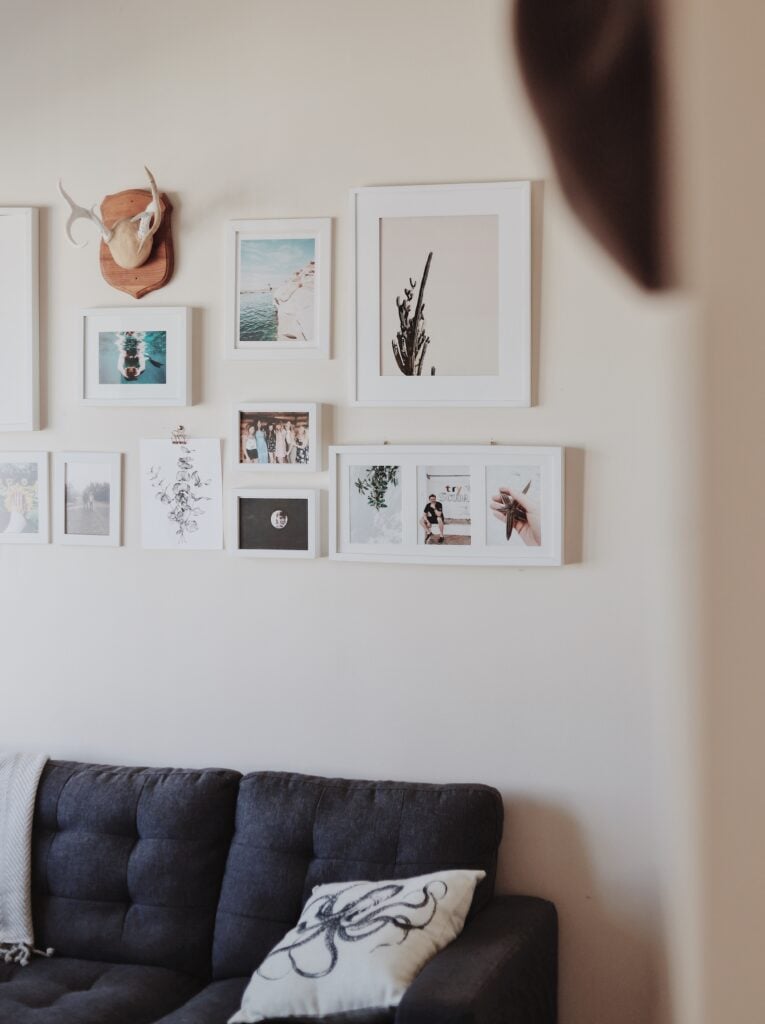
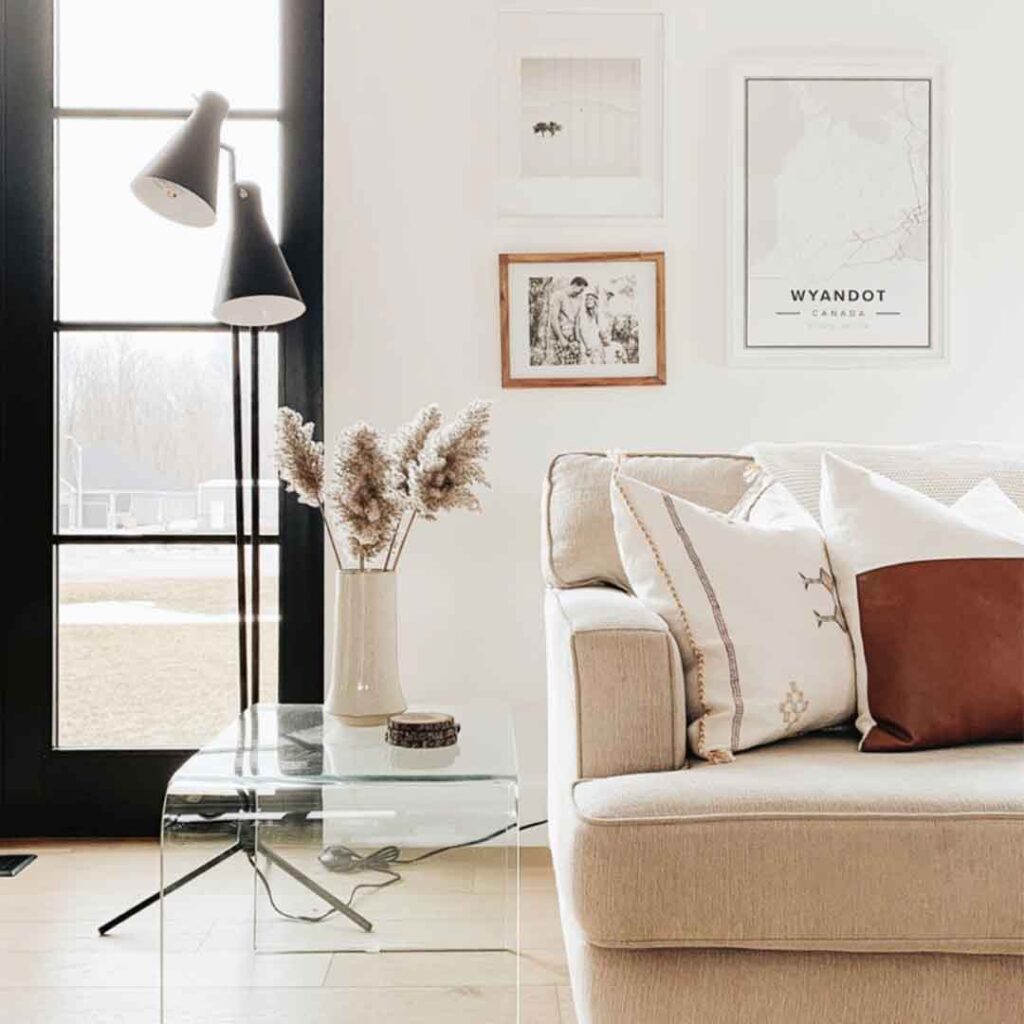
Also, depending on the room you’d like to decorate, take a look at the furniture around the space you’d like to work with. Frame it with scandi-style hanging lamp, or model it above a sofa or bed headboard.
Pro tip:
Having your gallery covering
2/3 of the furniture in front of the wall is usually a good mark when it comes to proportions!
Think Theme
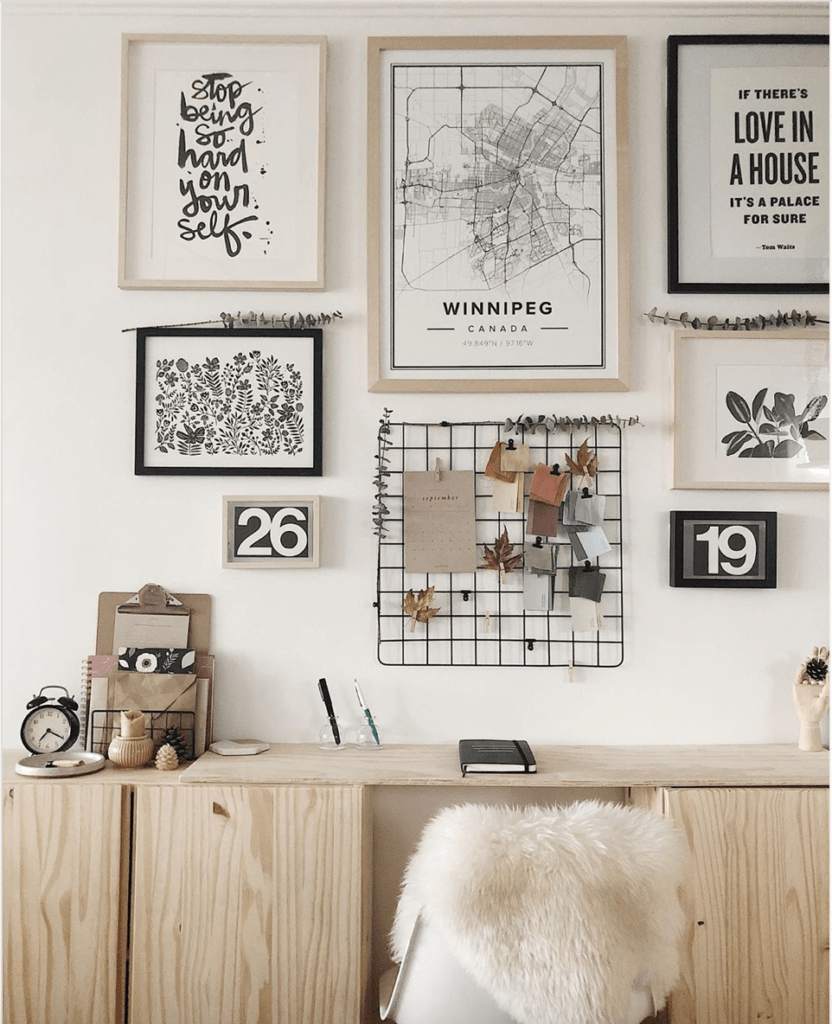
Select a colour story or theme for your gallery wall. This will make it so much easier to start collecting beautiful pieces to include. That way, you can also make sure it complements the vibe of your home when it comes to colour and style, and truly make it your own. . Why not tell your story through a series of personal Mapifuls?
Consistency is usually key here.
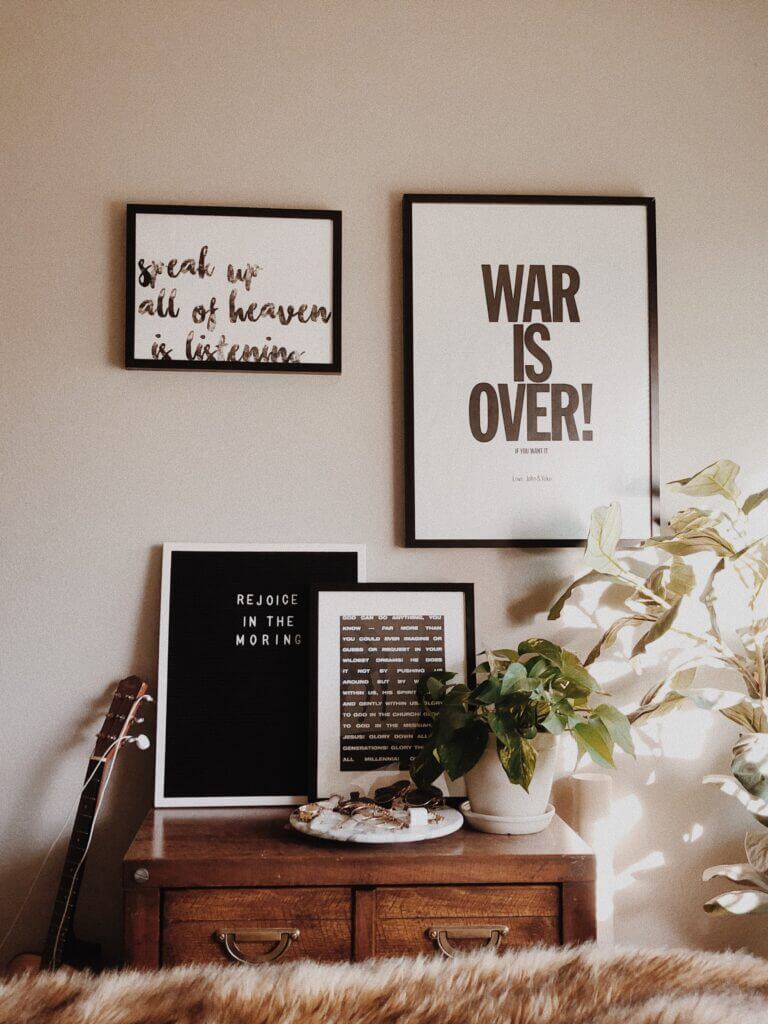
Whether it be theme, print style, colour, or even season, it can help to select a few pieces that you really adore, find a common thread, and build out from there. Or not. Rules are made to be broken, right?
Get Creating
The possibilities are literally endless, and it’s easy to feel overwhelmed when it comes to inspiration, but we’ve got you covered.
Resize and frame some of your own photos to add that personal touch.
Incorporate sentimental keepsakes like ticket stubs, beautiful restaurant menus and paper invitations.
Why not try adding some fairy lights or clipping on some polaroids?
Try and involve different textures; you can do this by using different frame styles, or even using a mirror or floating shelves to add some depth to your creation.
This is your time to get creative!
Lay it all out!
Before you start hammering nails into your wall, try laying your pieces out on the floor first! This way, you can make sure it looks fabulous before hanging.
Place the frames on the floor and test what looks good. Don’t be afraid to keep adding, and twist and turn the frames to dest different orientations and directions.
Start by placing the largest prints, and fill in with smaller pieces as you go, in a grid formation. Or, create an irregular pattern with different outer measurements (one bigger, one smaller and one in-between size) for a harmonious look.
If you’re a perfectionist, why not try the paper tracing trick. Simply trace the frames that you’d like to include, cut out the paper boxes, and blu tack them to your wall. Then you can really see how your design will look, mark up the wall where you want to add in the nails or fastenings, and make any last minute changes to your arrangement.
Gallery Wall 101 pro tip:
The compass app on your iPhone has a secret tool – a level! Simply hold it on top of each picture frame to see if it’s straight. Perfect!


")


